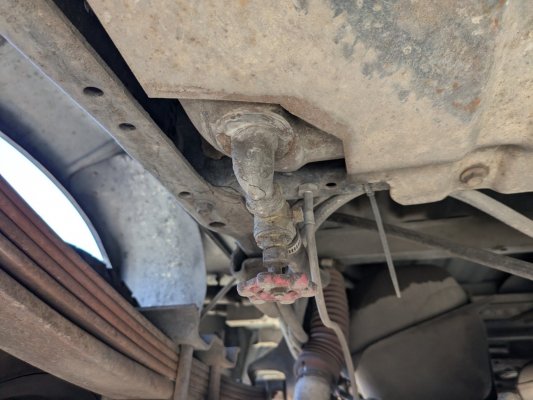
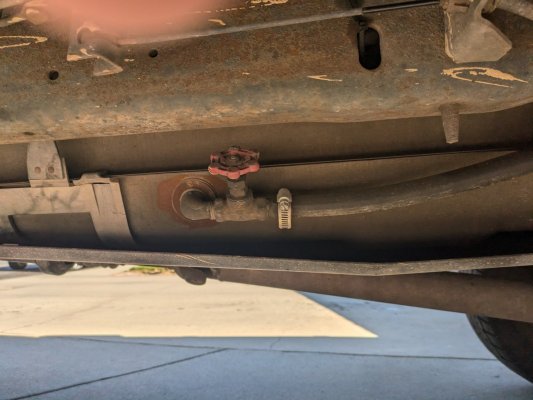
Mulochinco, Thanks for the kudos, I've found that I can accomplish a lot with a mig, drill press, drill, grinder ect. Our setup looks very similar, both use 1/2 inch hose, my fittings are 1/4 inch ID looks like yours is probably larger ID. Can't see how your sealing is actually done but it looks to be working good as it all looks pretty weathered and time tested. Yes, fuel and return only goes to front tank, I replaced rollover valves and ran the new vent lines along the fill spout and it terminates as high as I could get it inside the fill door, I just drilled a hole thru the plastic box that house the fuel filler cap. I opted not to put a valve in mine for simplicity. I cut the wires to the rear sending unit when removing the tank and didn't bother repairing as I only plan on using the front sending unit (didn't want to spend money on another sender) I did end up leaving the selector valve in place just for the wiring to the sender, I was going to remove it but I couldn't figure out which wire went where so I just left it. And yes I sealed up the unused lines to the rear tank very good, love the Permatex aviation sealer.

 It looks like you shouldn't have any problems for a very long time.